5th Tutor Meeting

I had another 1-2-1 tutorial today which sparked some new questions and research.

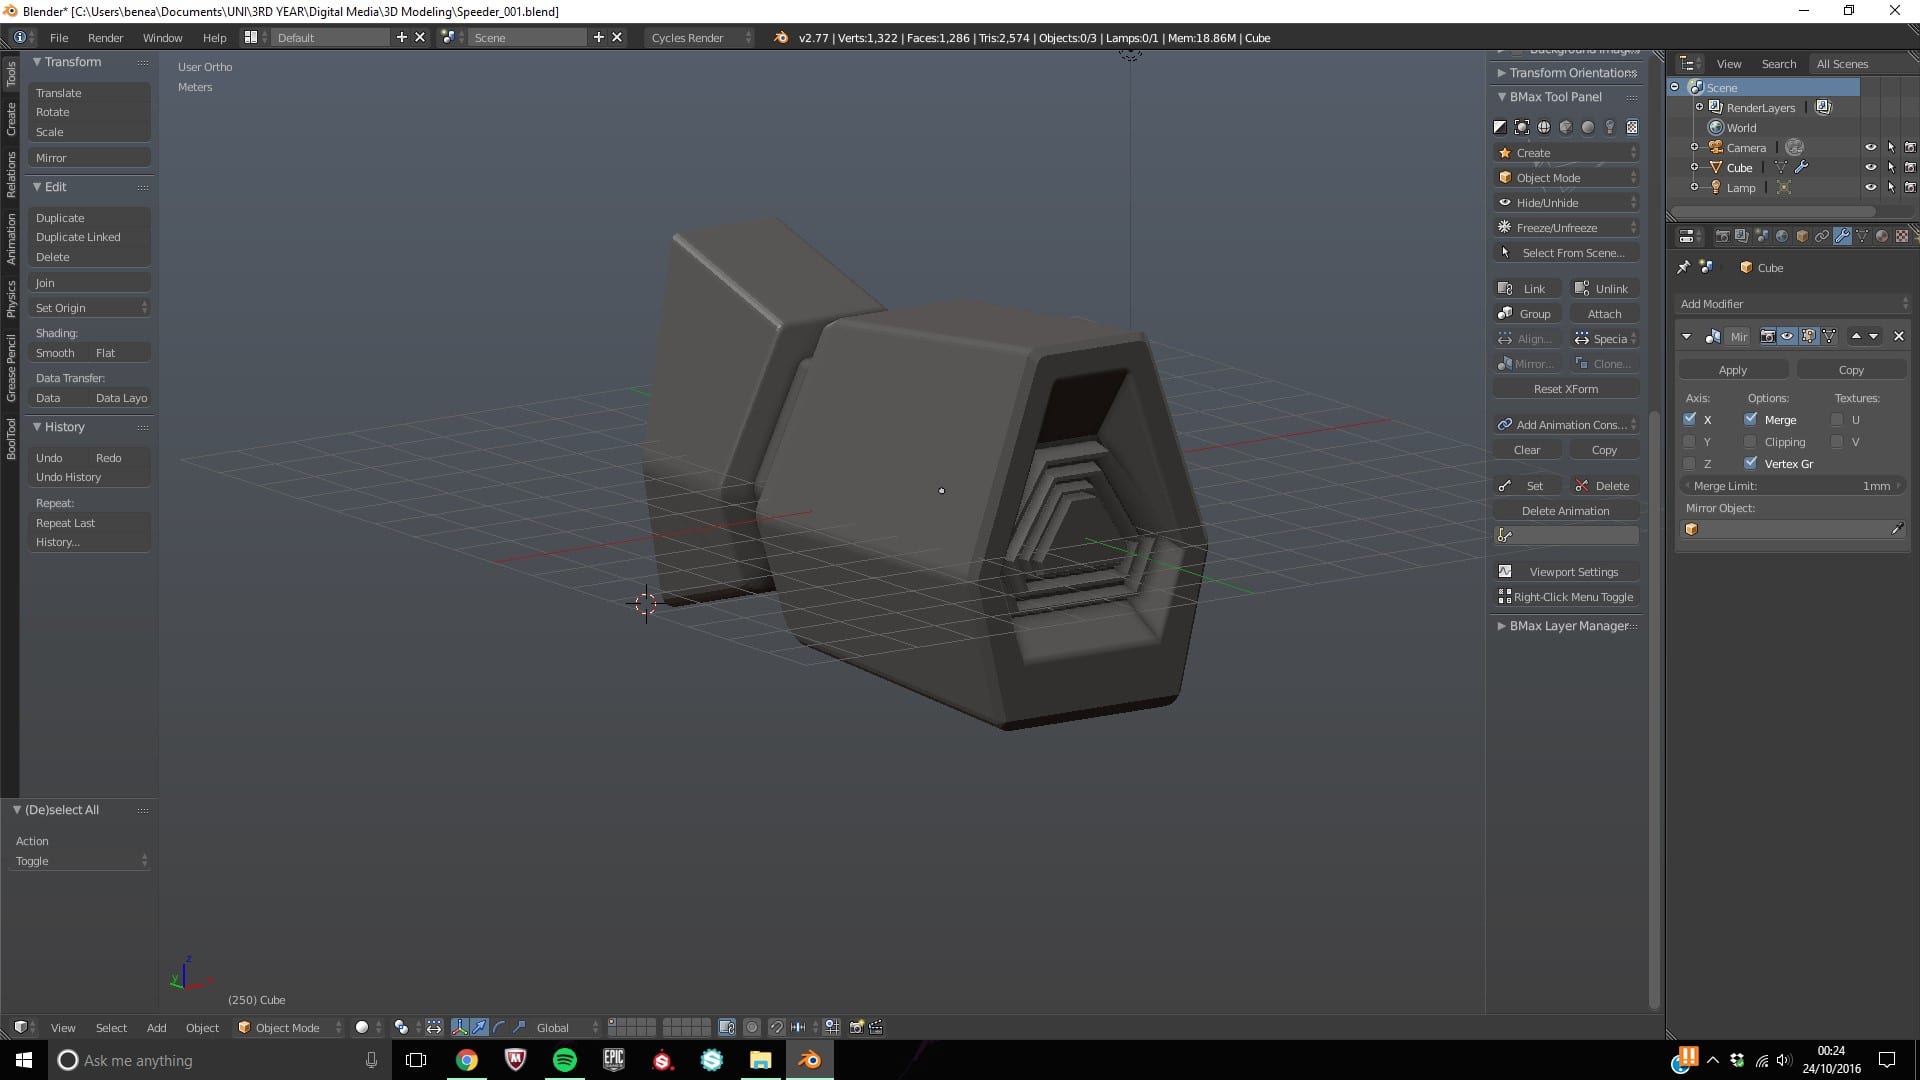
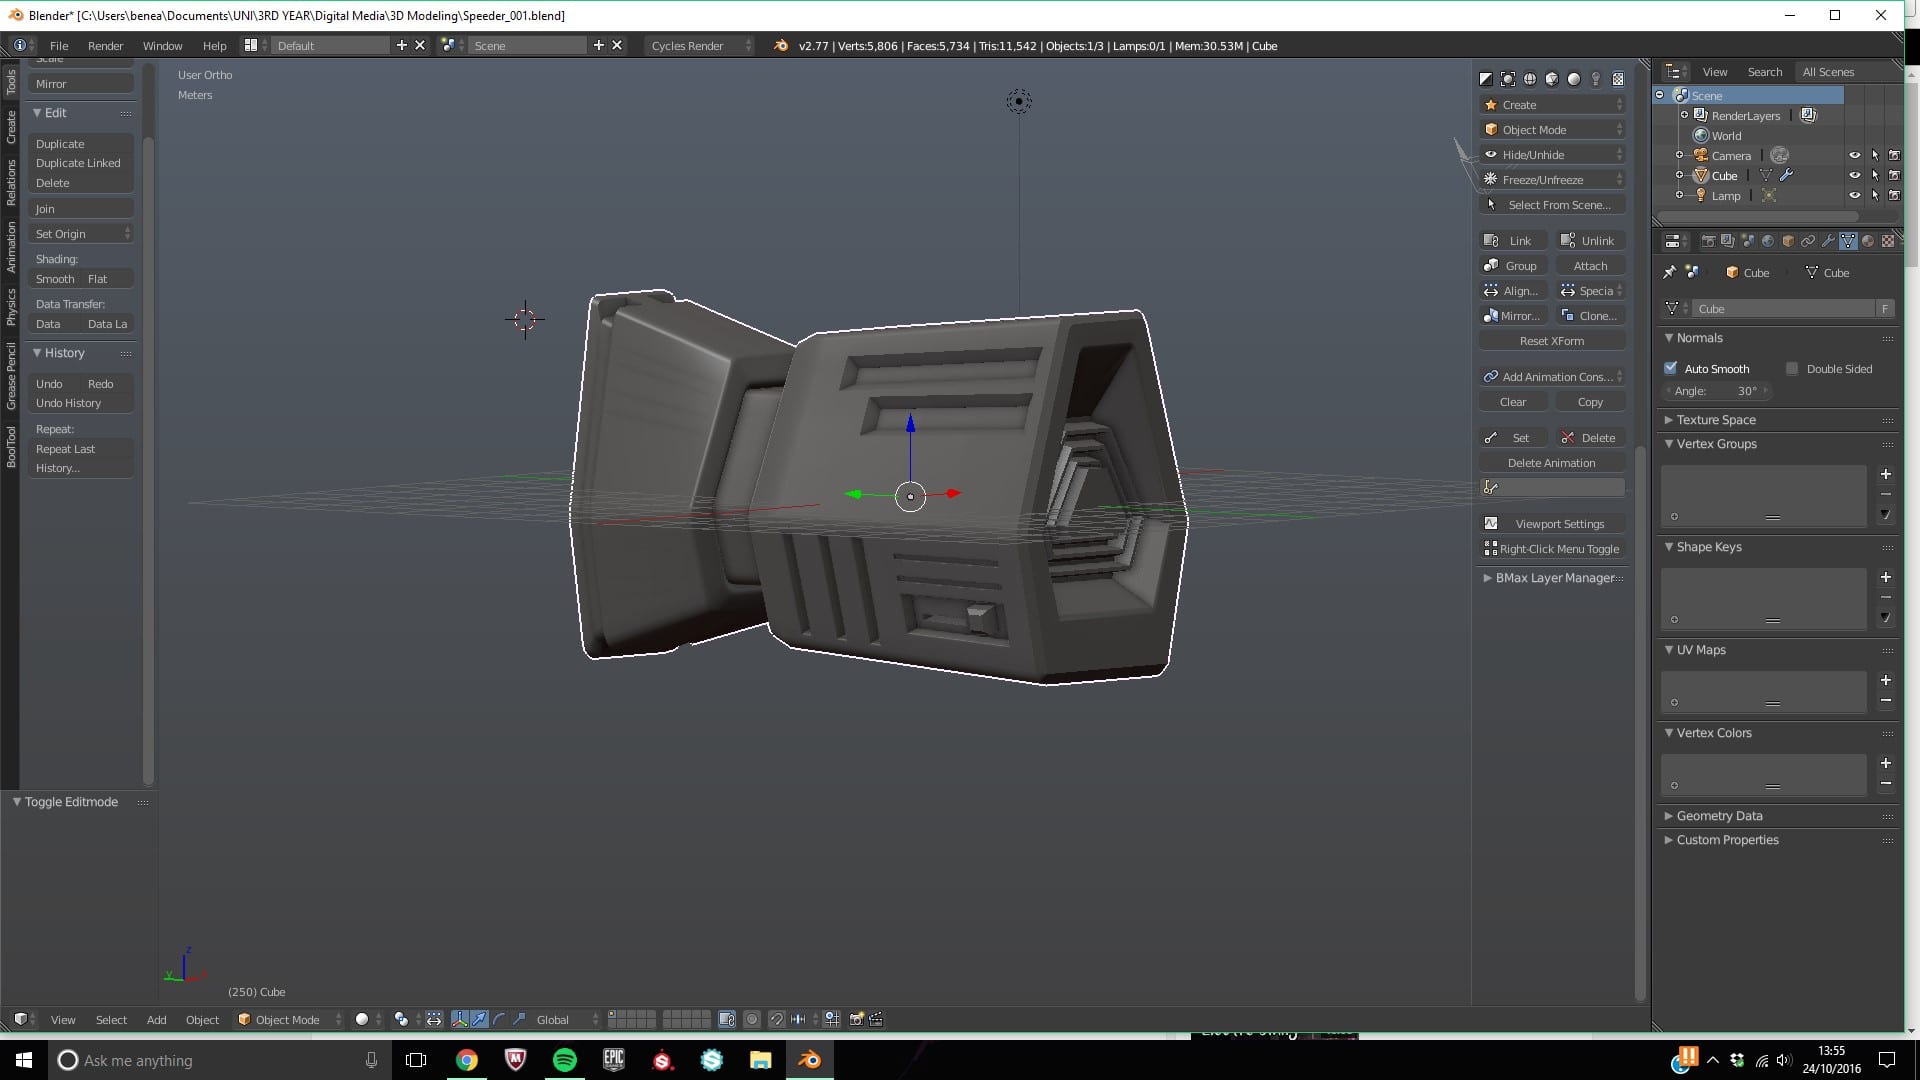
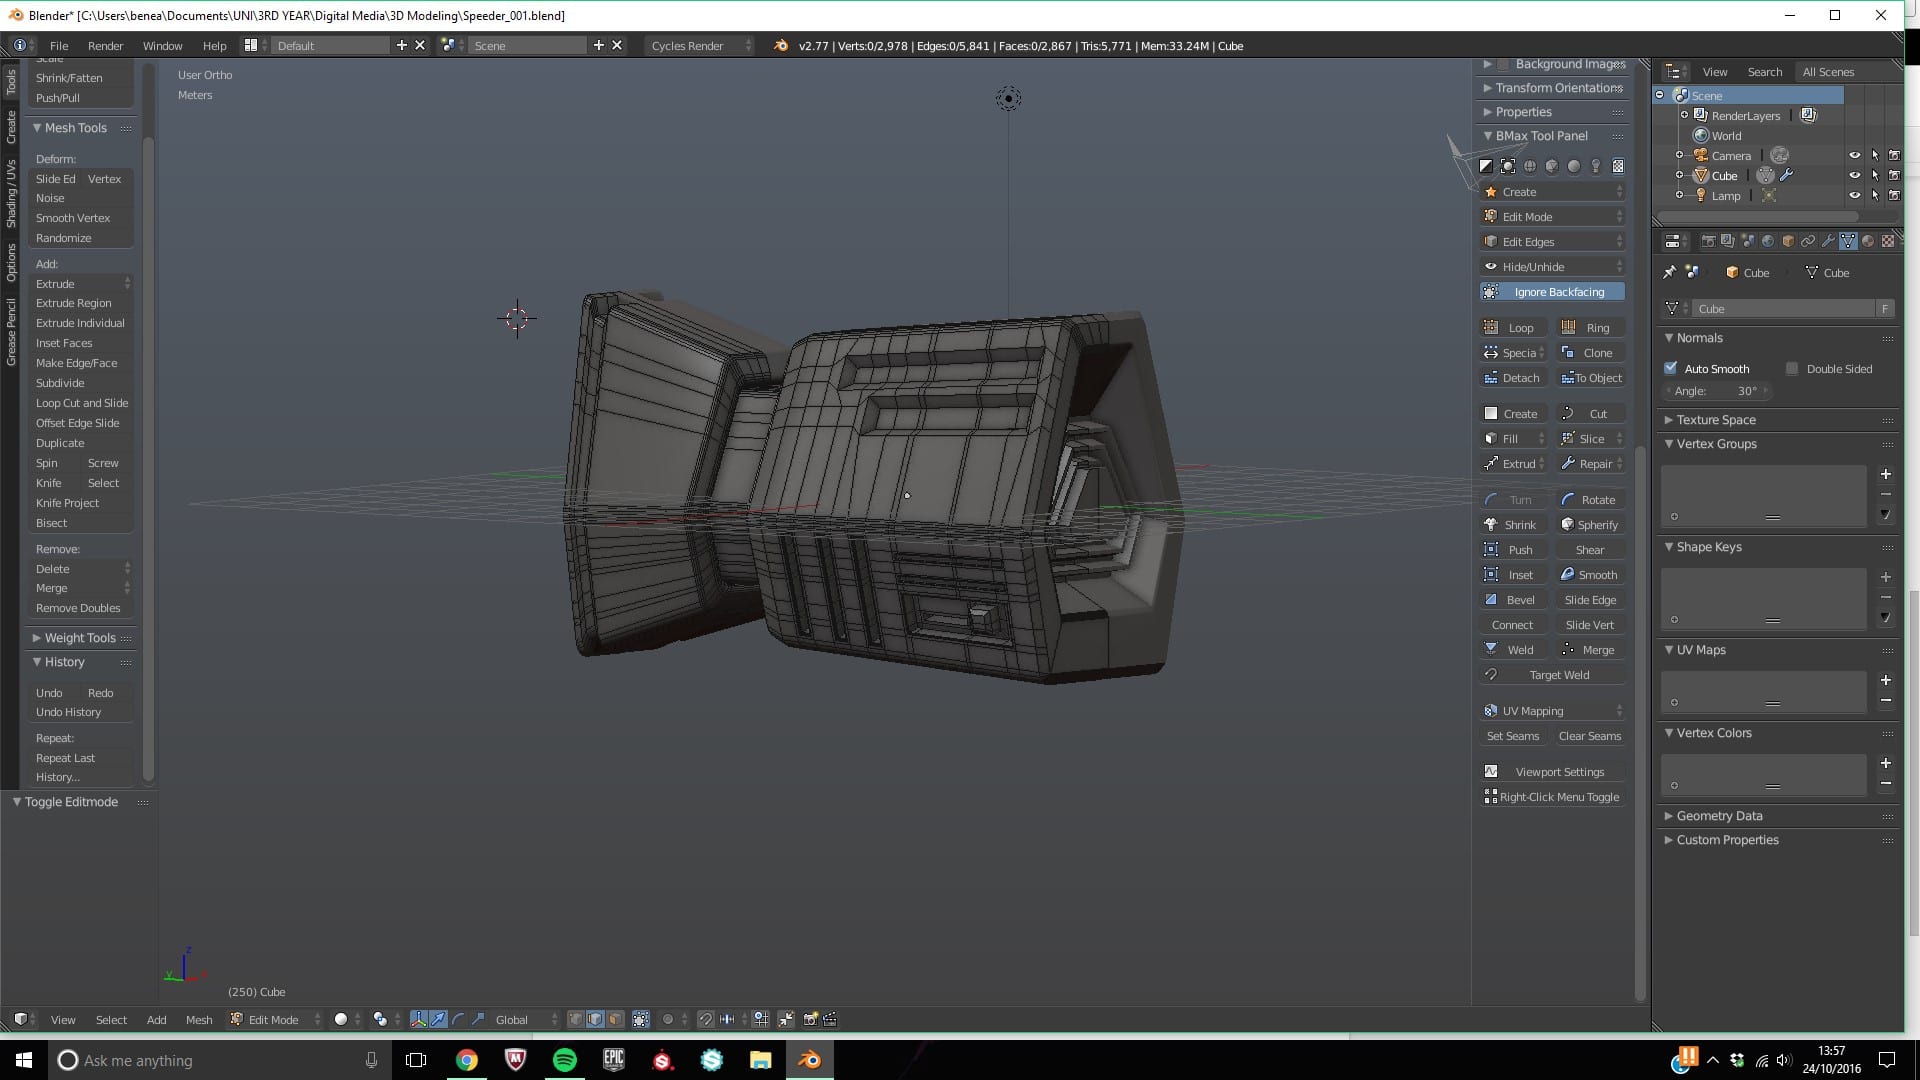
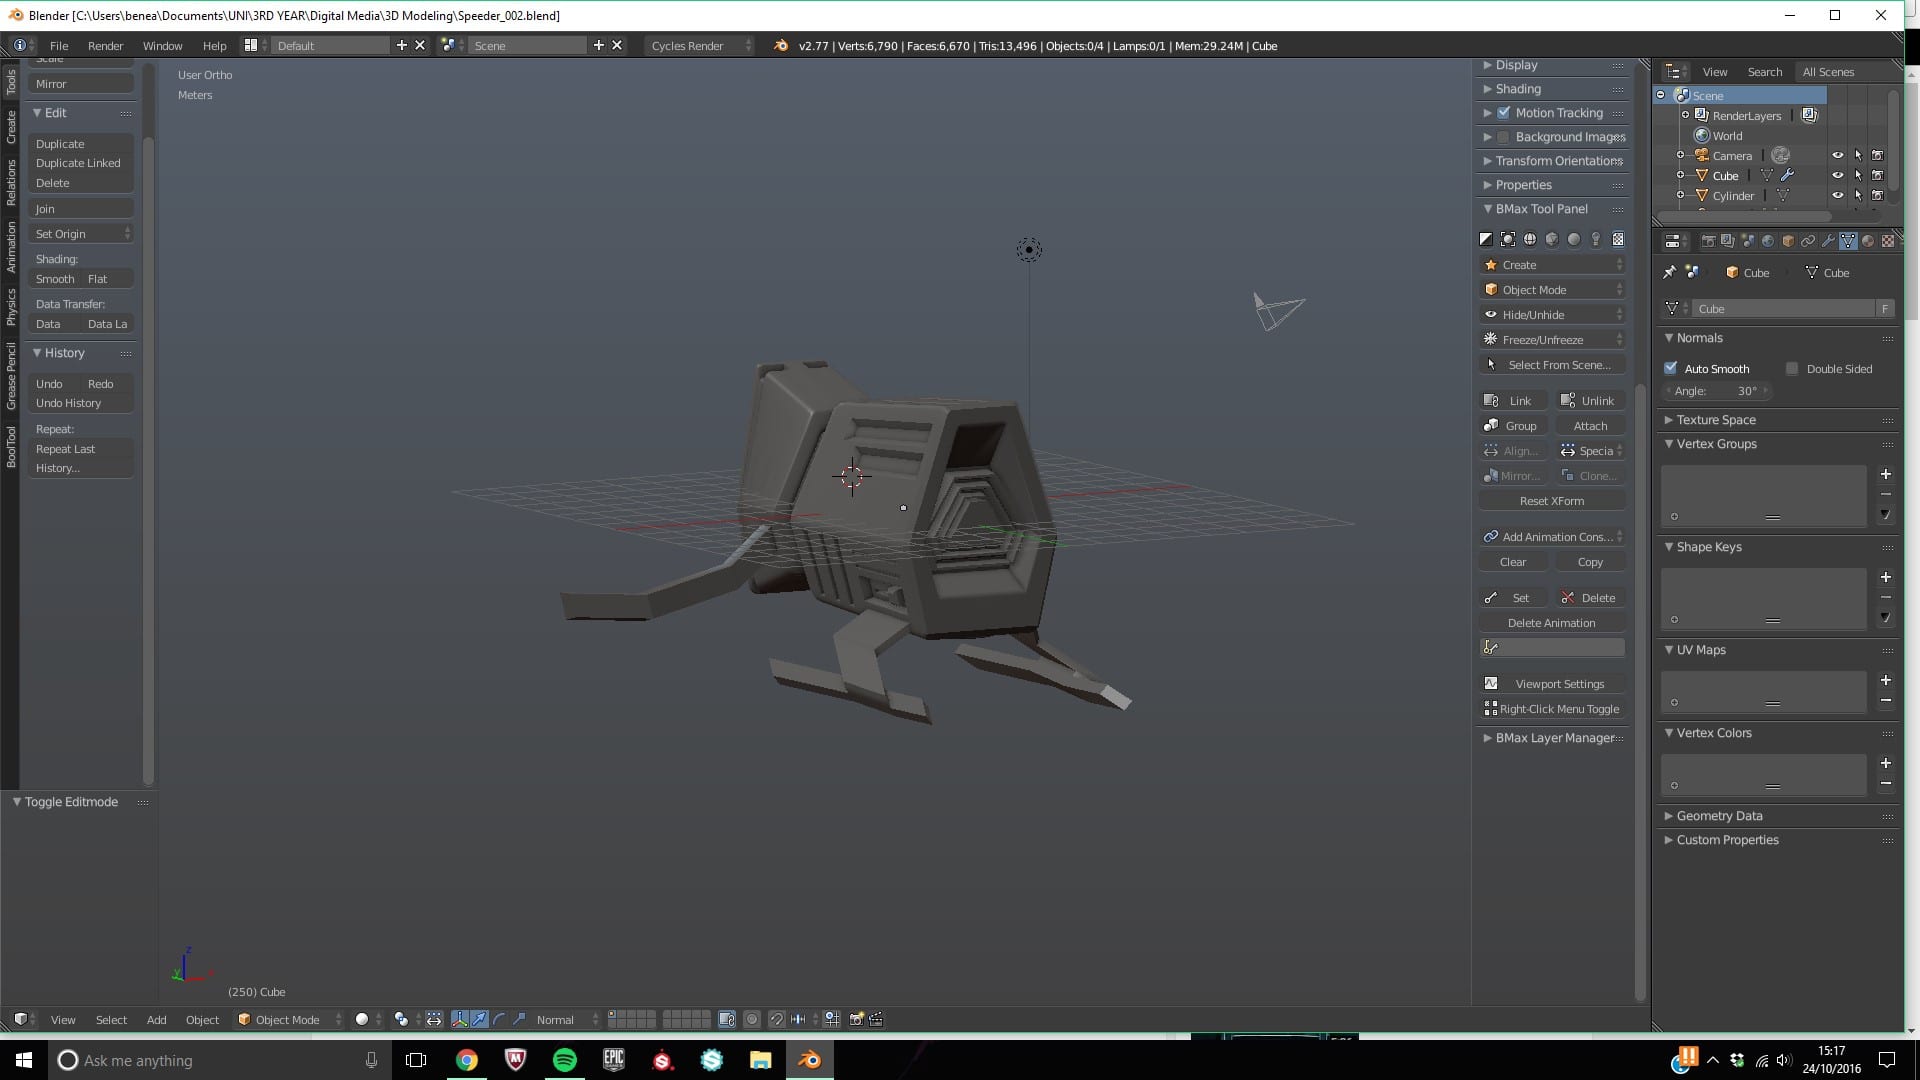
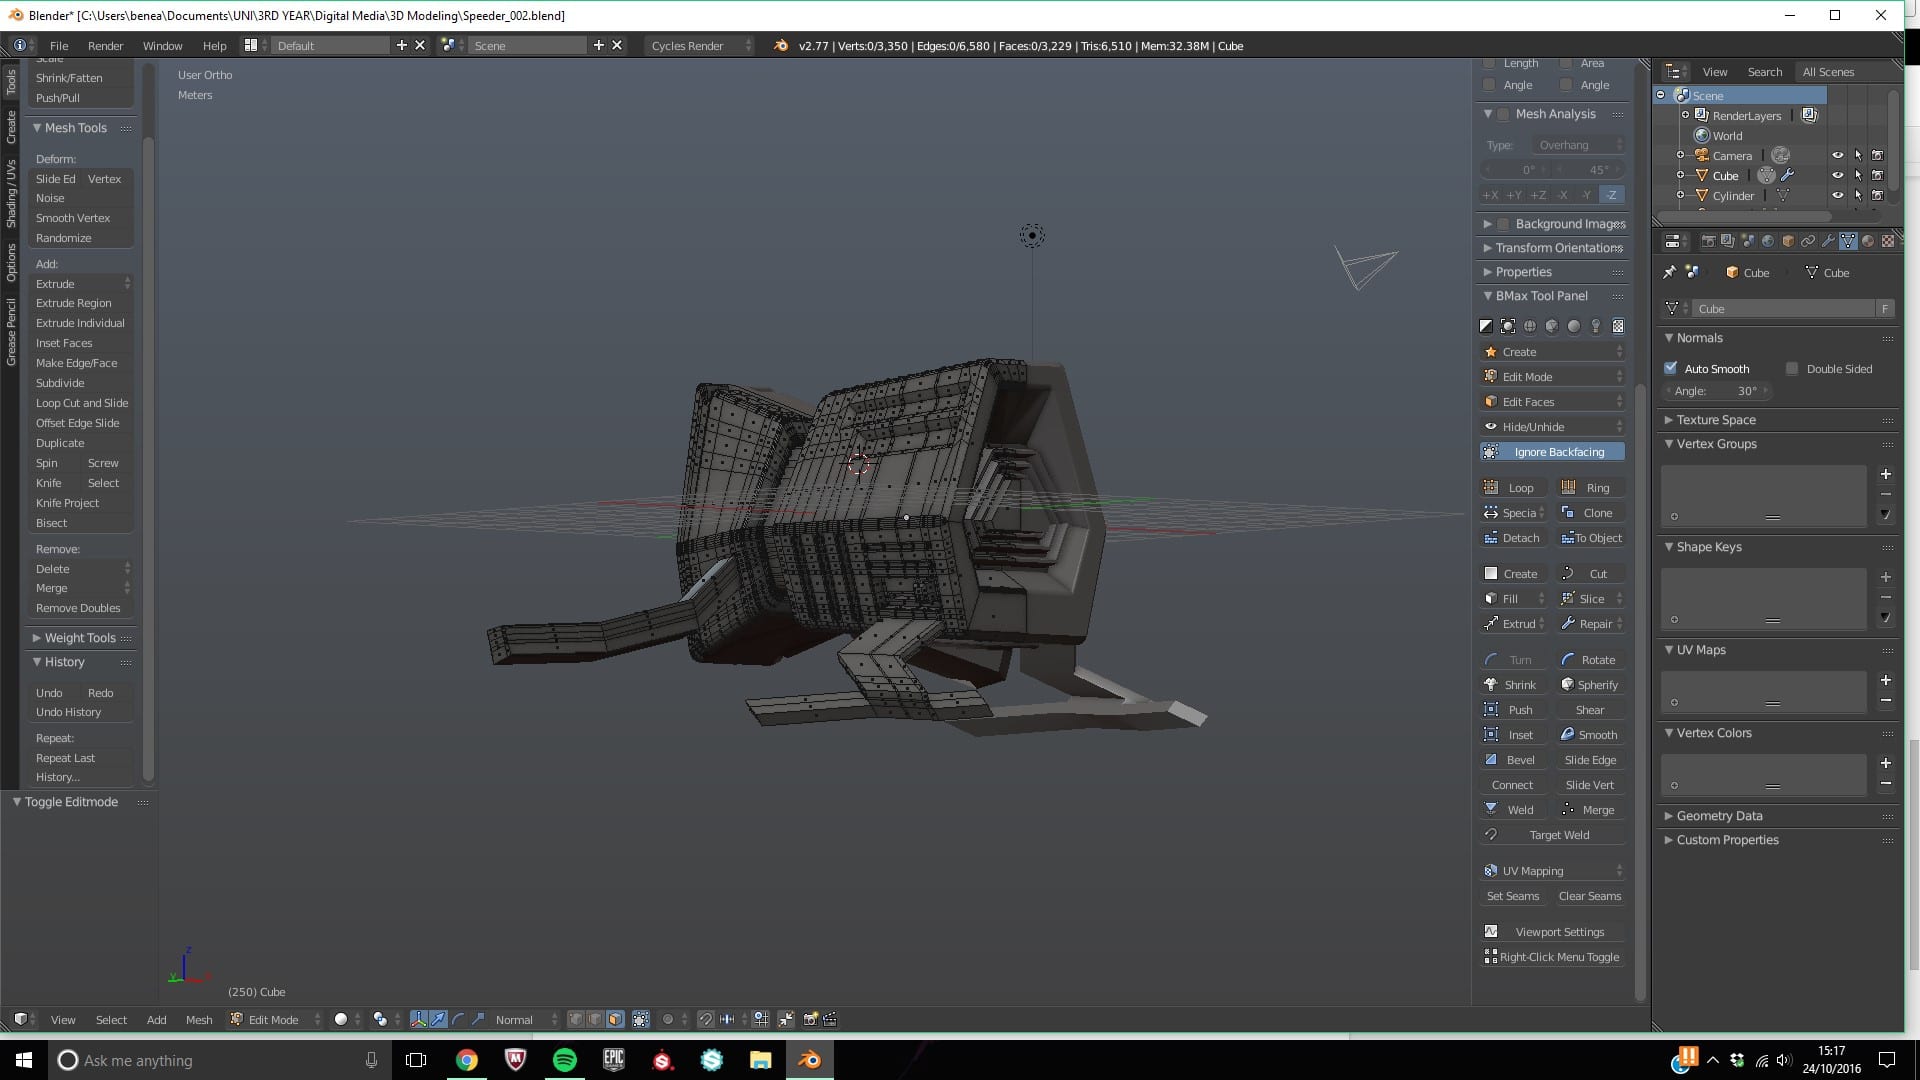
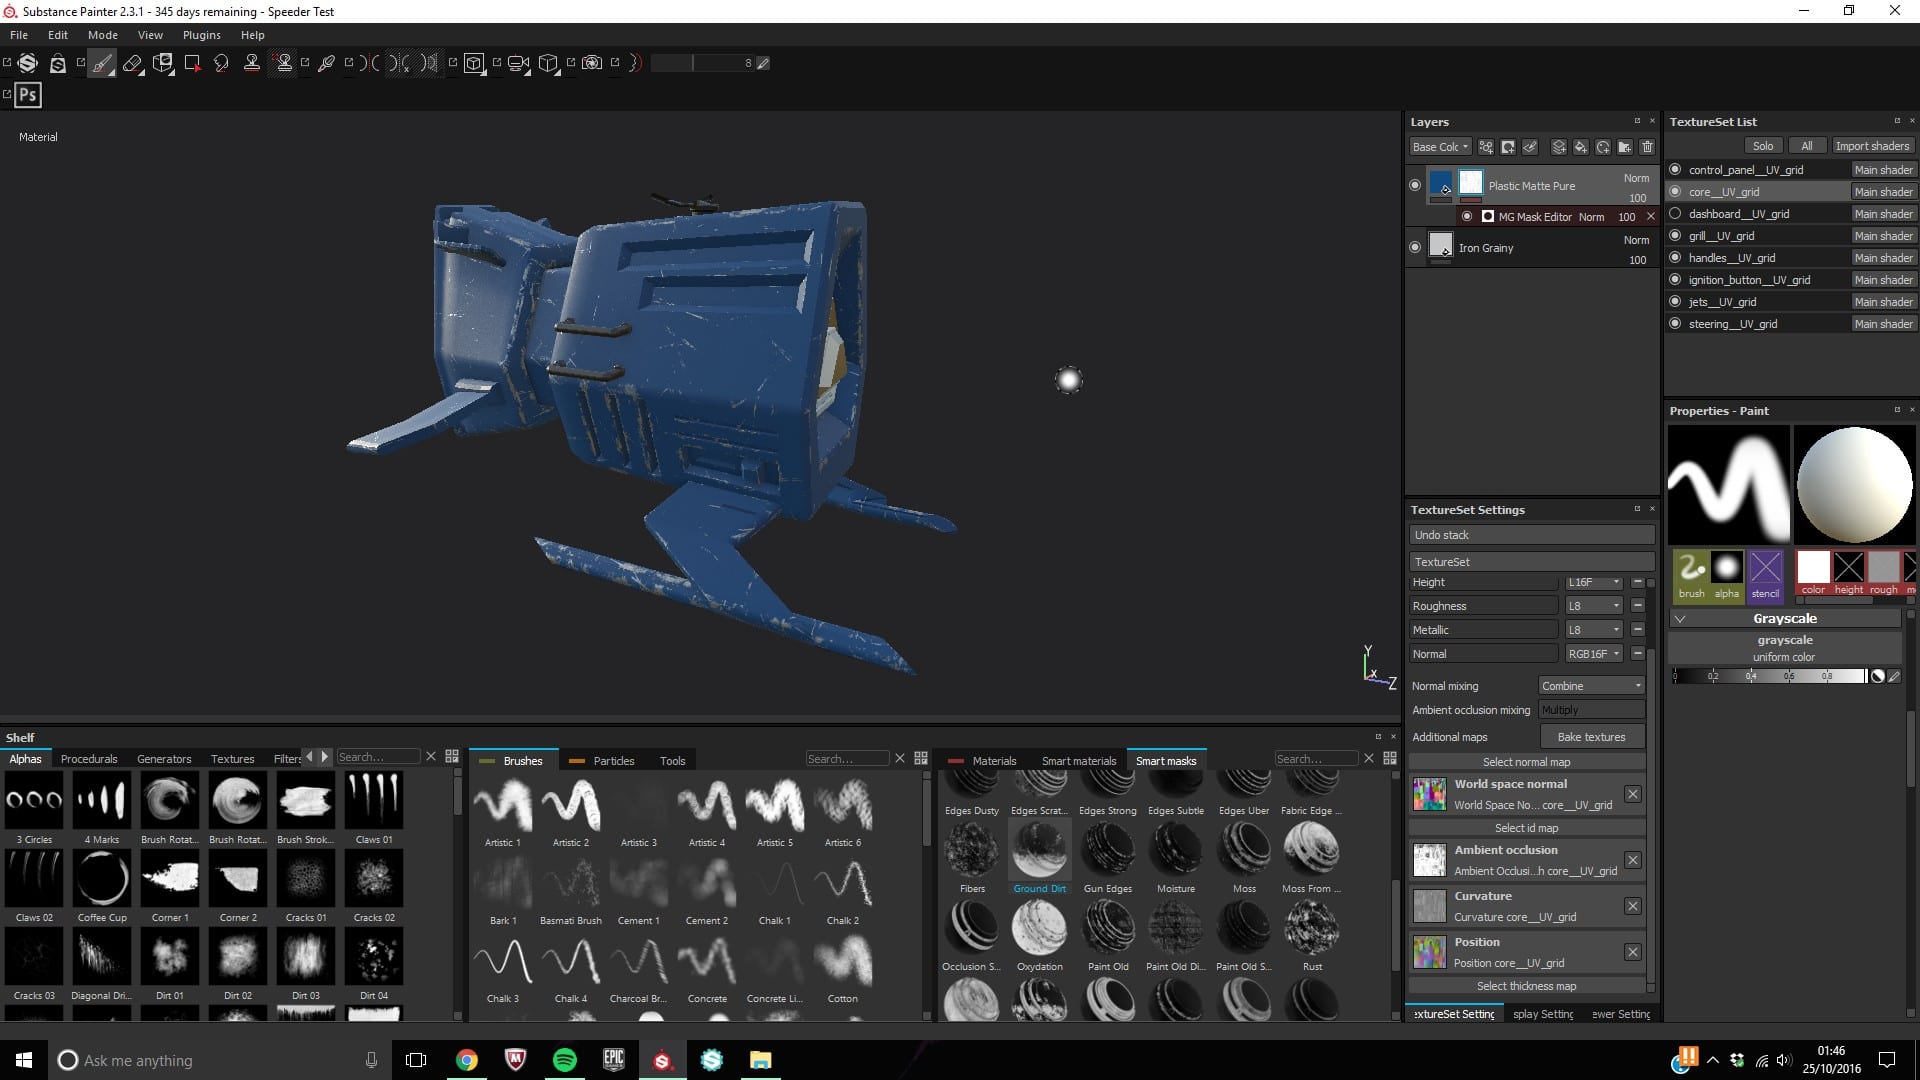
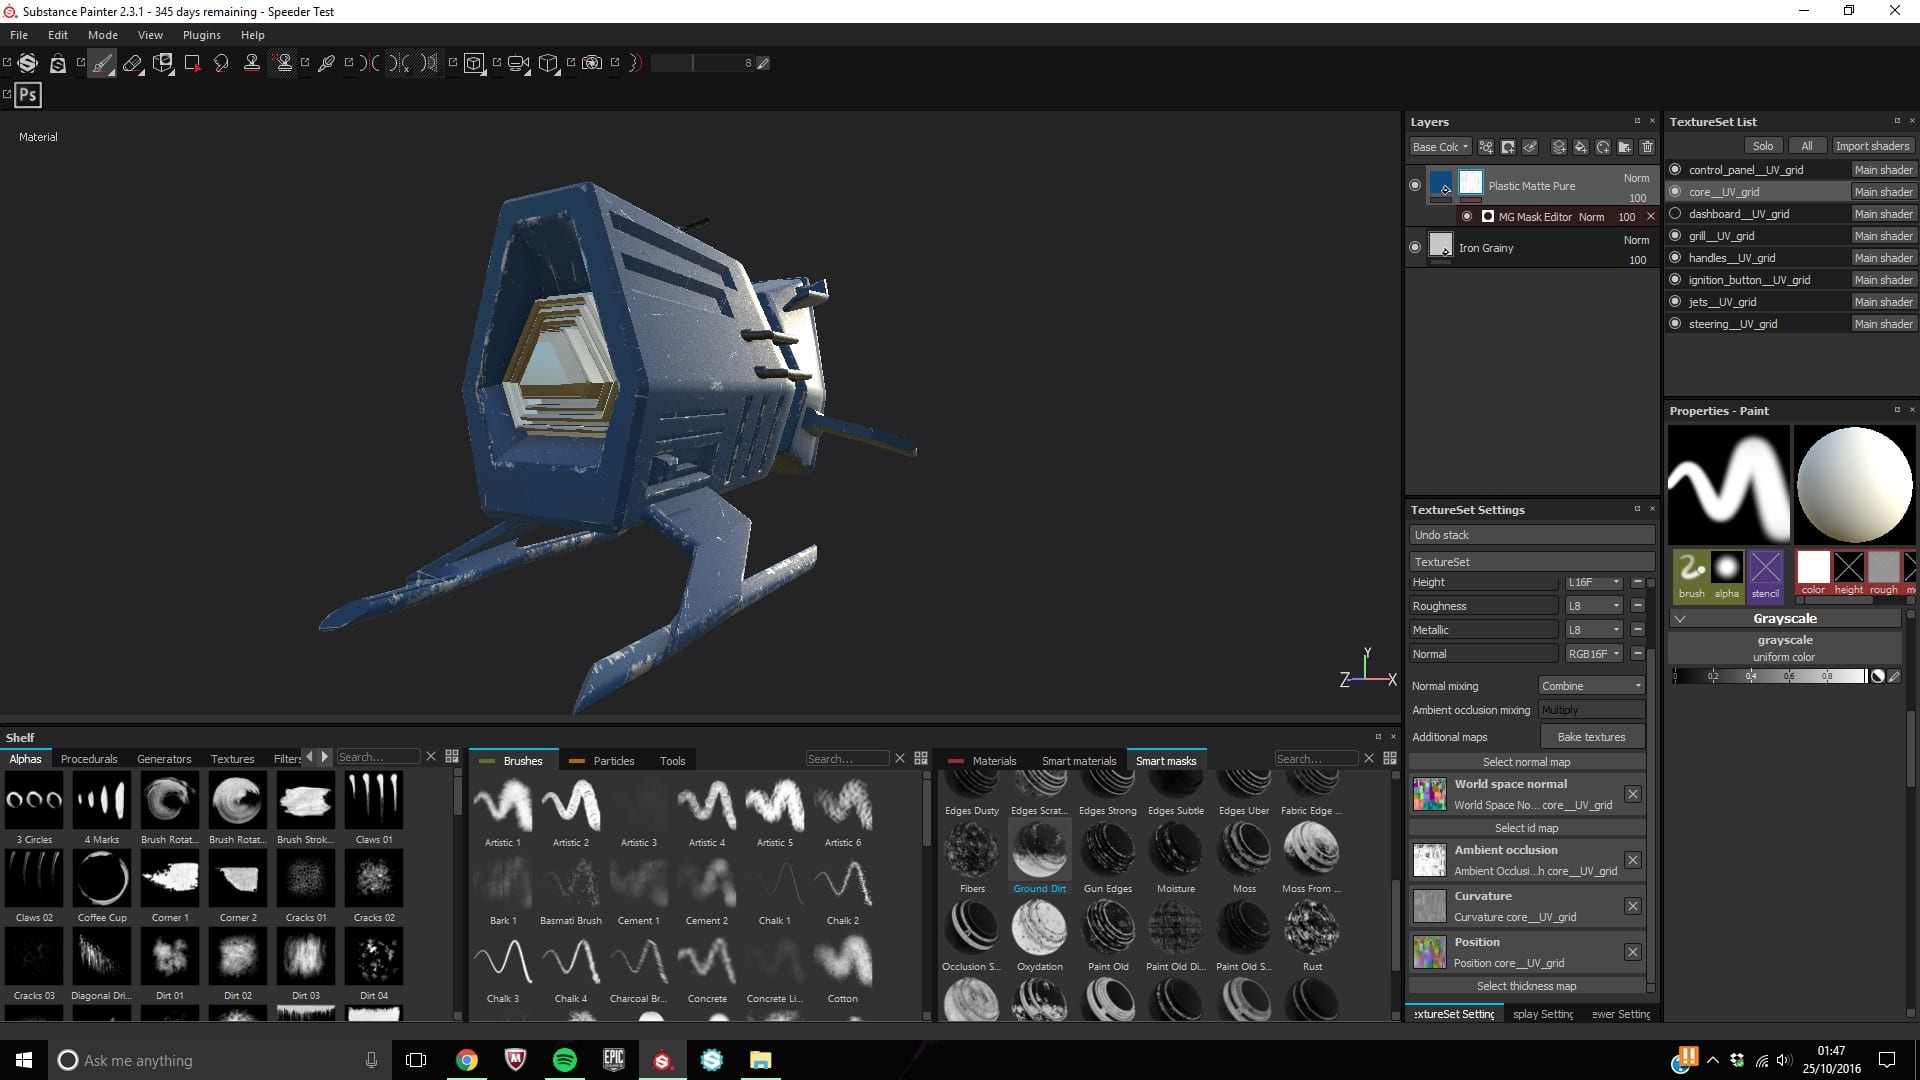
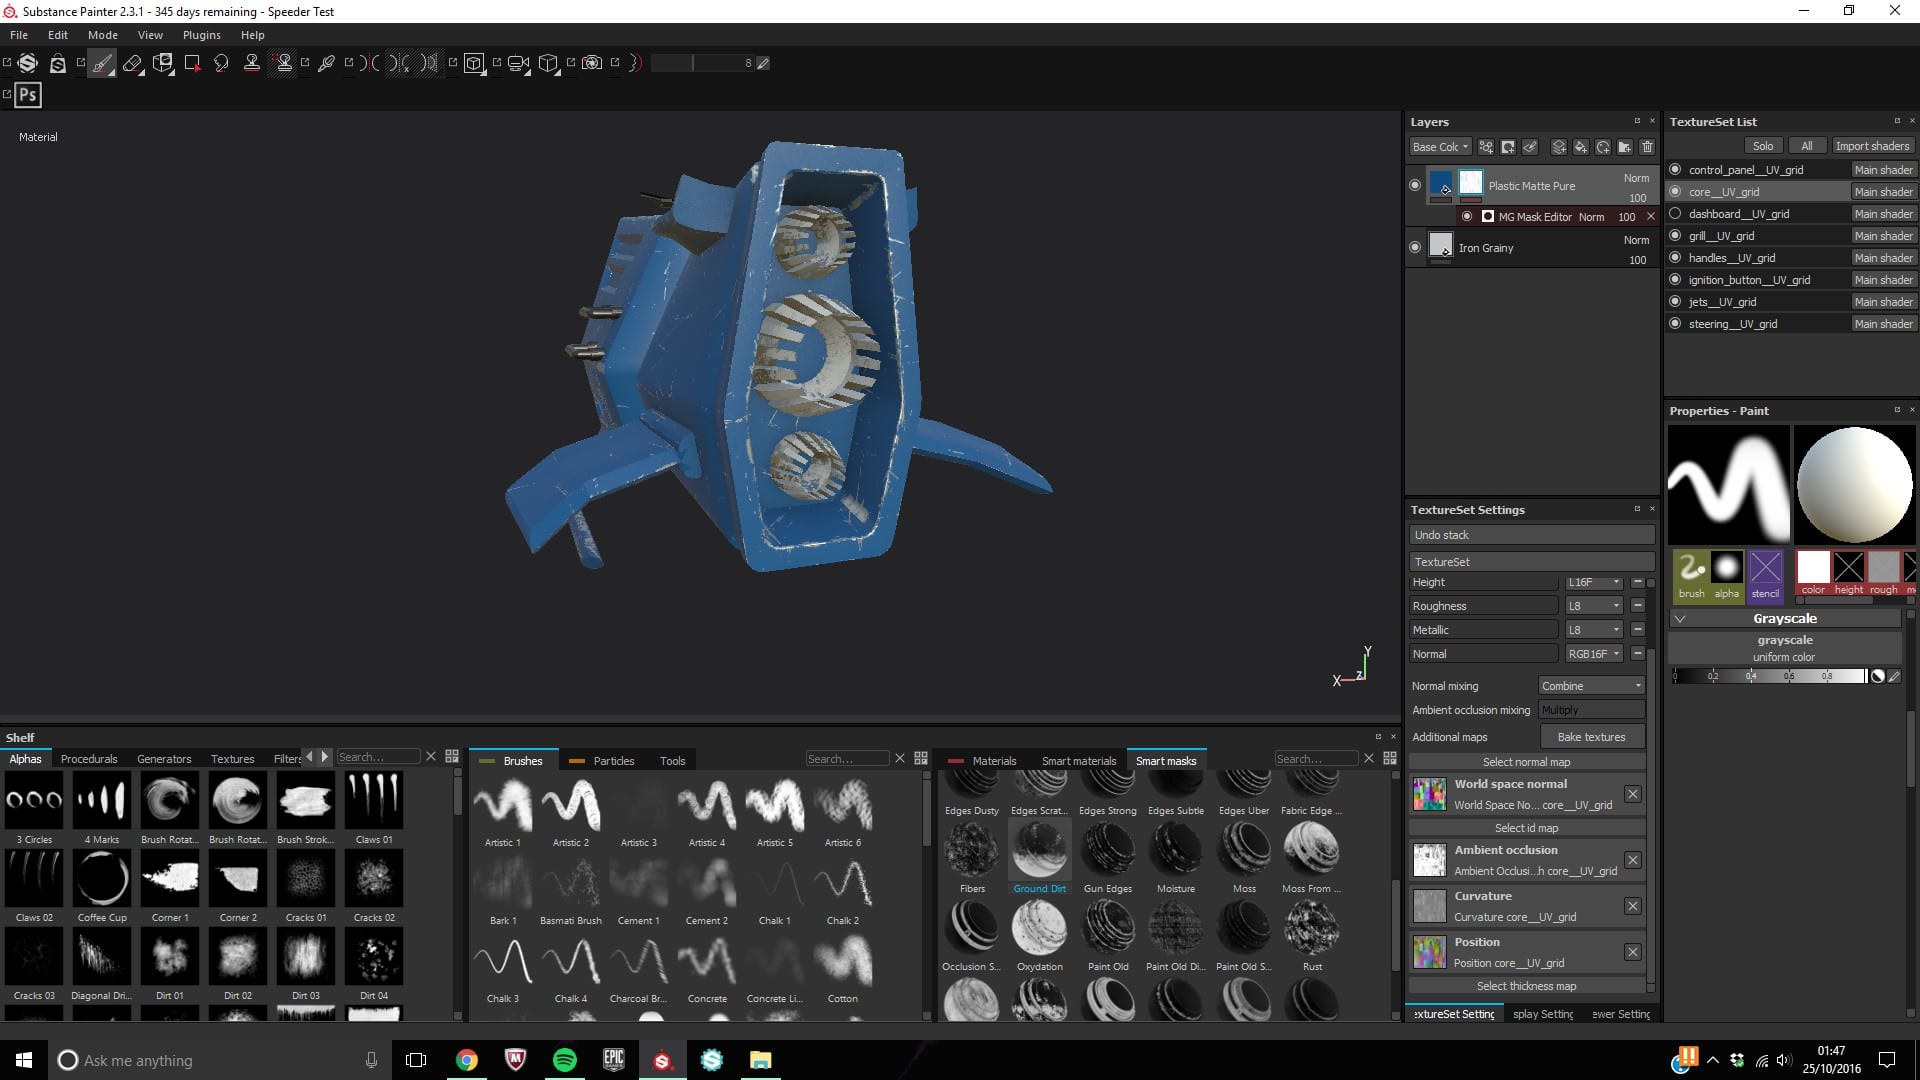
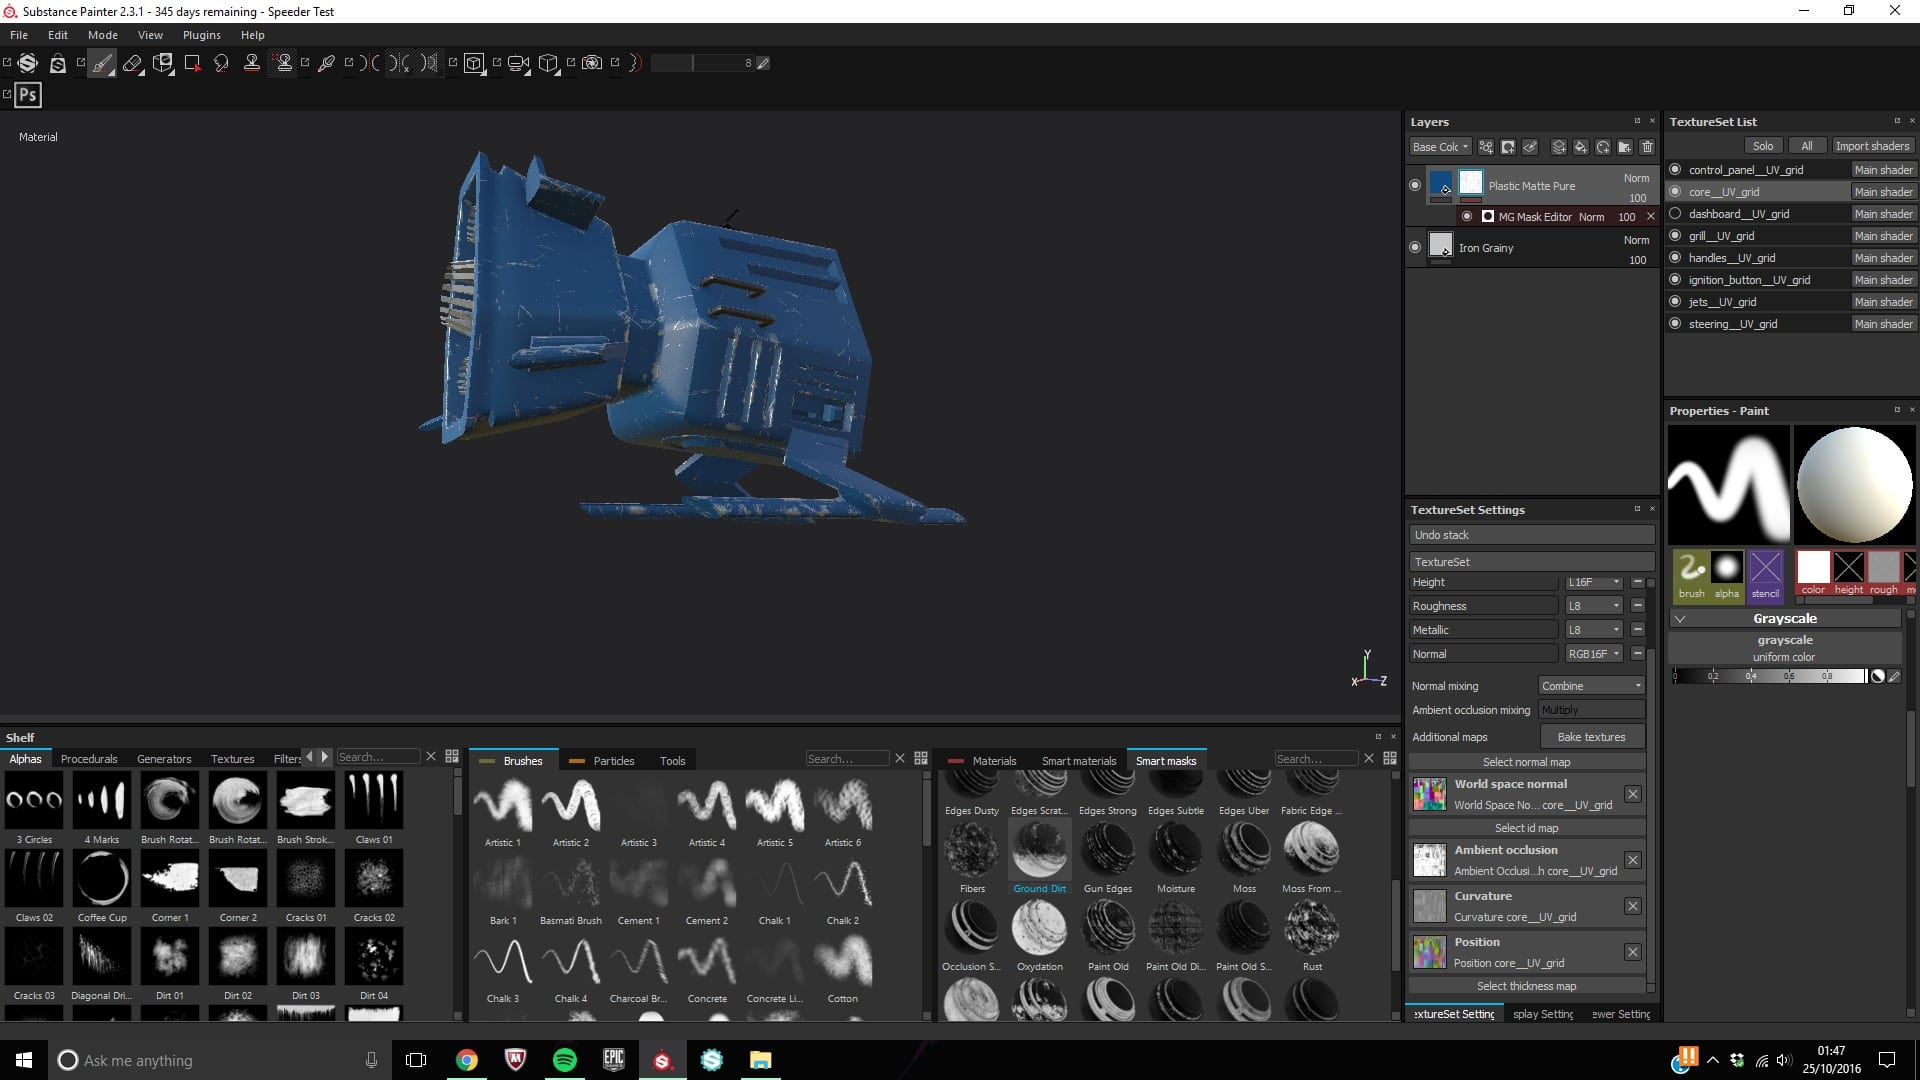
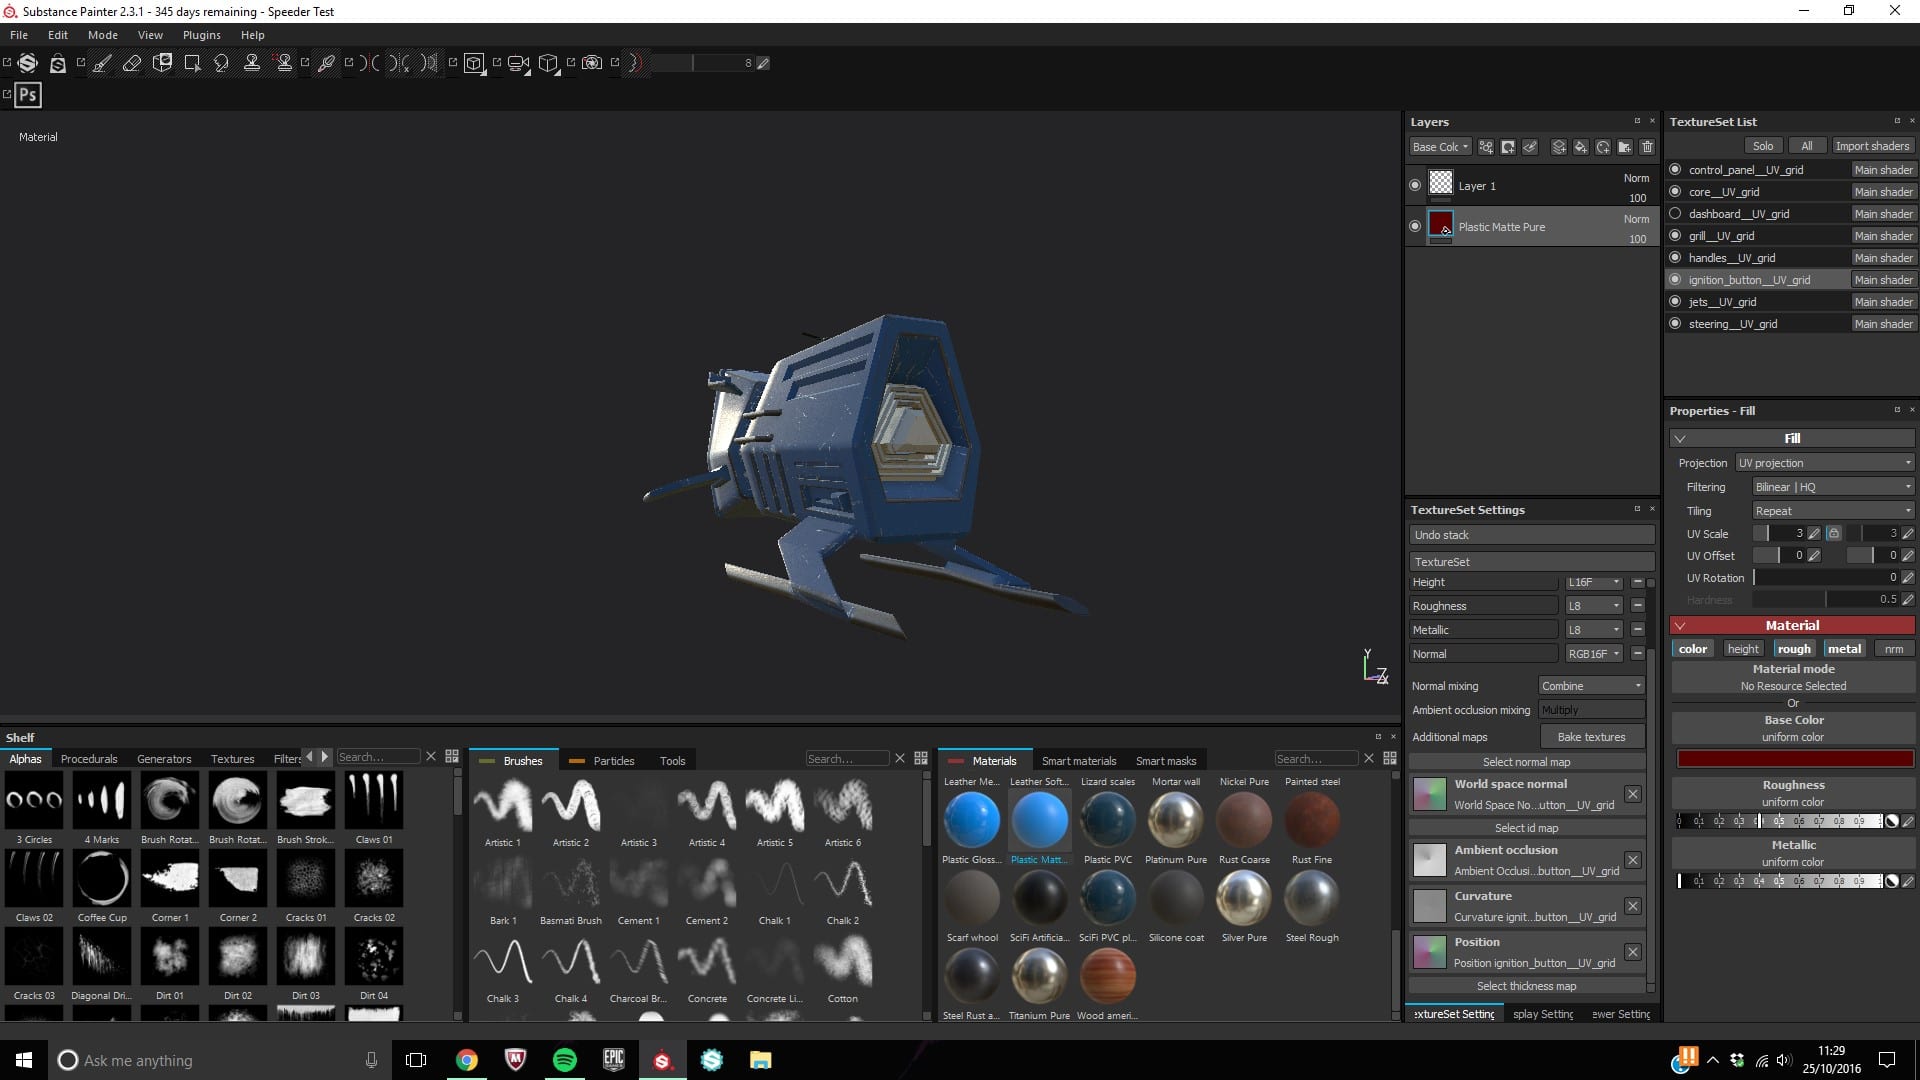
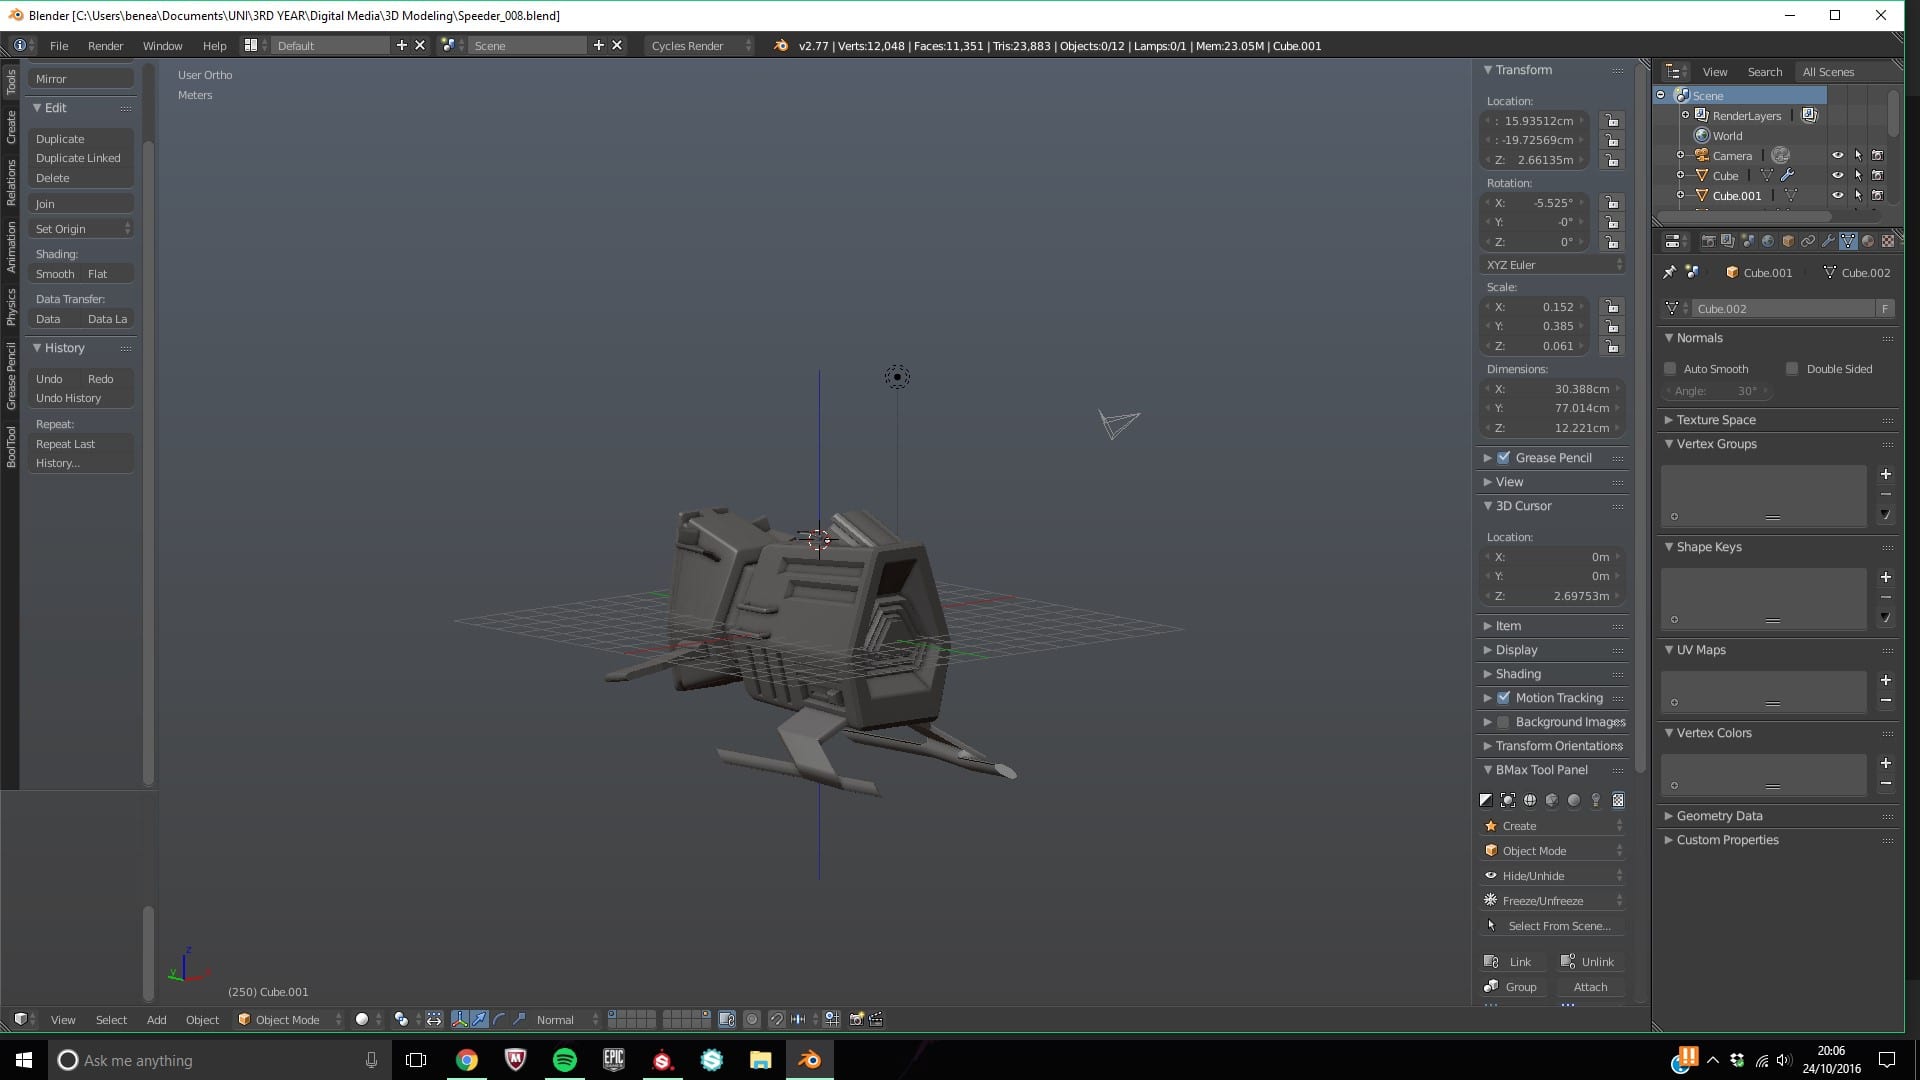
I showed my tutor the colour mapped drone that I had been working on all week. I was told that it was nearly there and could soon be ready for height painting. However the main focus of the meeting was how I was going to be actually submitting the work and we came up with that I submit three different models one version clean and the other one dirty and scratched. This way it shows that I can be diverse with my work. We also decided on that each model will in some way represent air, sky and water. The model we came up with were to keep the sphere drone, model a hovercraft and a mini-turret. I came back home and started to being to put rough sketches together to get an idea of what I am planning on creating.

4th Tutor Meeting

At the end of last week,  I began modeling of what was going to futuristic barrel that be a prop in a map or Scene. As i progressed I began to have a lot of issues with the model regarding back faced culling. I took it to my tutor who had a look and was unable to fully decide on what was causing the issue. At first we thought it could of been the normal’s so we recalculated them to no affect. After a while of trying to get it working I scrapped this model as I wasn’t to far into it anyway.


I also began modeling a sphere like drone that will be one of the models i use for my final Recon asset pack. When creating this drone I can feel my self getting better and not having to follow a you tube tutorial every step of the way. I am also getting more and more adventurous with my modeling as well as it become more natural.

3rd Tutor Meeting

I took the small speeder bike to my tutor for him to have a look at. My tutor said it was good start and that I should have a look into colour id maps. Colour ID maps are a easy way of selecting a certain area of a model to texture. It works like a mask in Photoshop or any Adobe software. My tutor also told me to begin modeling one of the models I plan on using for one my final project.


UV GRIDDroneIDMap


2nd 1-2-1 Tutorial

After just having this meeting my tutor he said for me to go look into painting into the height detail and seeing what affects this would have. My tutor recommend that I watch the video linked below.

This video helped me massively as it allowed to texture in great detail without changing the overall mesh.

I set my self a task for this week and that is that I need to go have a look a painting height into a model myself.


I am writing this at the end of the week once I have only done a basic texture of the model. The link below is a link to a sketchfab post where you can have a look round the model in detail whilst it reacts with the light.

https://sketchfab.com/models/4cdb08b5357f48198b392461888905b4

Introduction to Blender

To teach my self blender I decided to follow a in depth step by step tutorial that goes from setting up blender through to UV wrapping and exporting ready for texturing painting.  This series of tutorials were created by my tutor Jon Holmes.

I followed the tutorials imitating what was seen in the video with small personal creativity allowing me to incorporate some of my own input.

Link to Tutorial series:

http://www.thecuriousengine.co.uk/?project=hard-surface-science-fiction-modelling-blender-3d

12

I started out by creating the basic shape by scaling and extruding faces till I was happy. I then made sure that I bevelled out edges so that light will reflect off of these later on.

34

The next stage was that I started adding in some mid level detail to break up each face and add some difference in height. I made sure that I had applied the mirror modifier so that all of the detail I was carrying out was applied to each side.


56

I then began to add in extra details such as the rear supports and the bar stands. The addition of this brings interesting shapes to the model and makes it look more intriguing to look at.


910111213


Here are the some of the textures applied to the model. Considering this was my first model I would say I am very happy as I am still trying to teach my self the basics.